Emergency Preparedness for Renters with Disabilities
Emergency preparedness for renters with disabilities means building a plan around your actual needs, not a generic checklist. Mobility, vision, hearing, and medical needs change every part of the kit, the alerts, and the exit route. A personalized plan, an accessible kit, and a small support network turn a scary situation into a manageable one.
Start from your needs, not a checklist
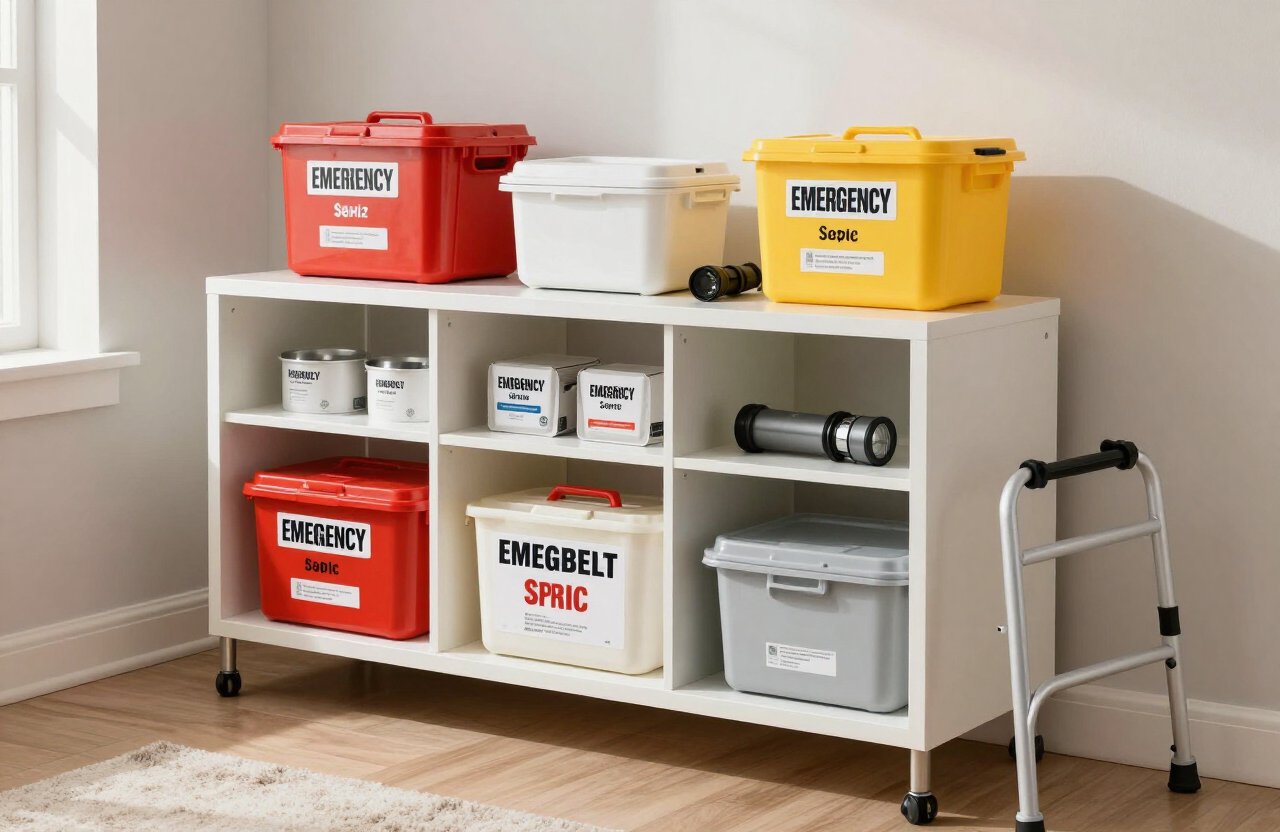
A standard checklist assumes you can see, hear, walk, and grab a bag quickly. If any of those is not true for you, the checklist has to bend. The right plan starts with what you need to stay safe and functional, then builds the kit around that.
Write down your specific needs, the tools you use every day, and the help you would need in an evacuation. That list becomes the backbone of your plan.
Build an accessible emergency kit
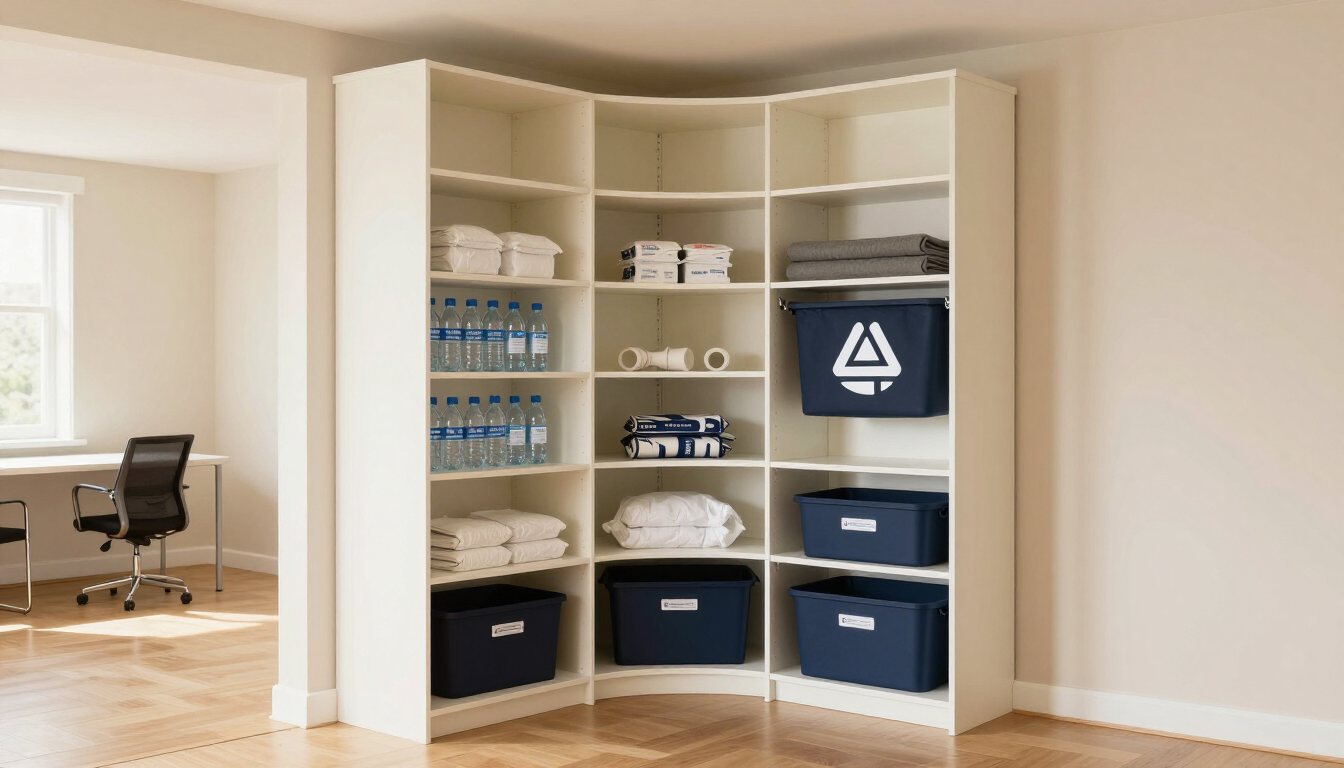
The kit holds the same basics as any renter kit, plus the items that keep you functional. Arrange it so you can reach everything from your usual position.
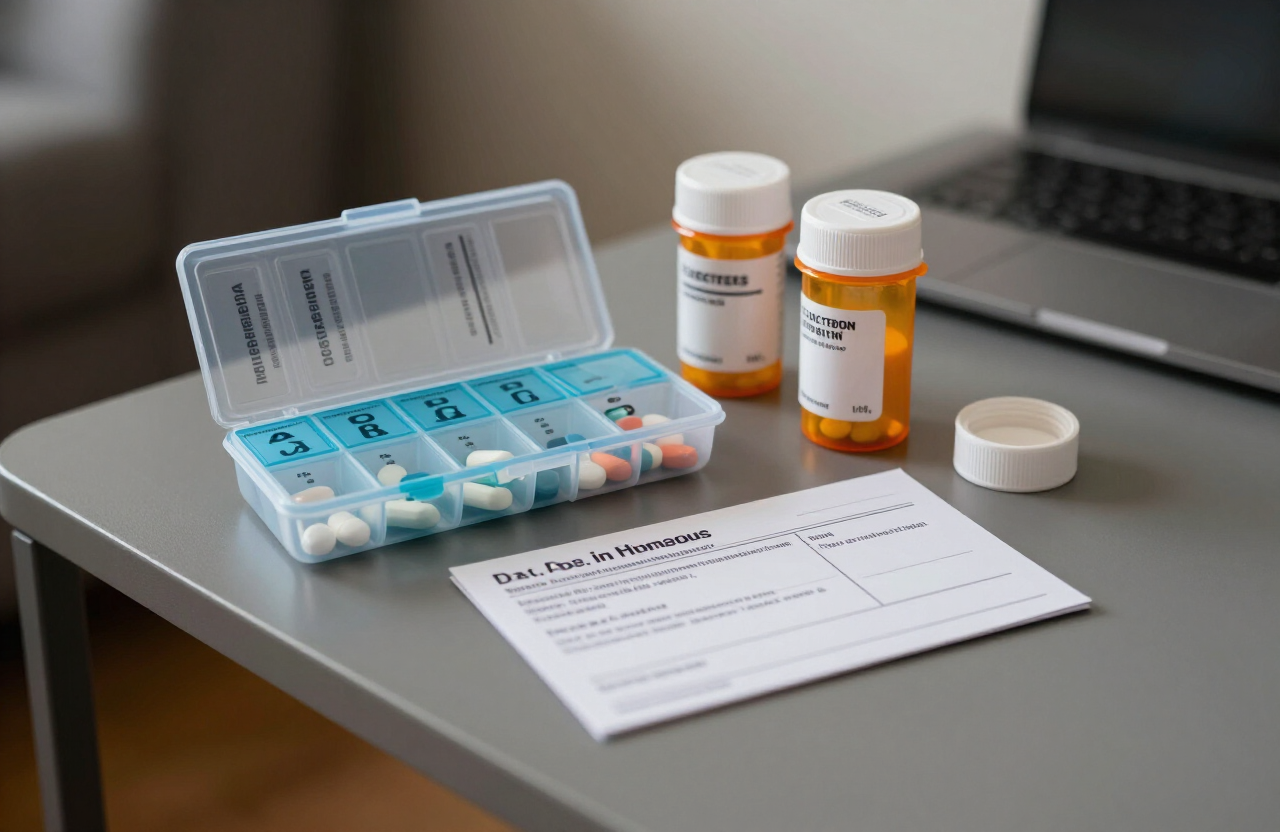
- At least a two-week supply of prescription medications, rotated for expiry
- A printed medical information card with conditions, medications, and dosages
- Spare eyeglasses, hearing aid batteries, and mobility aid parts
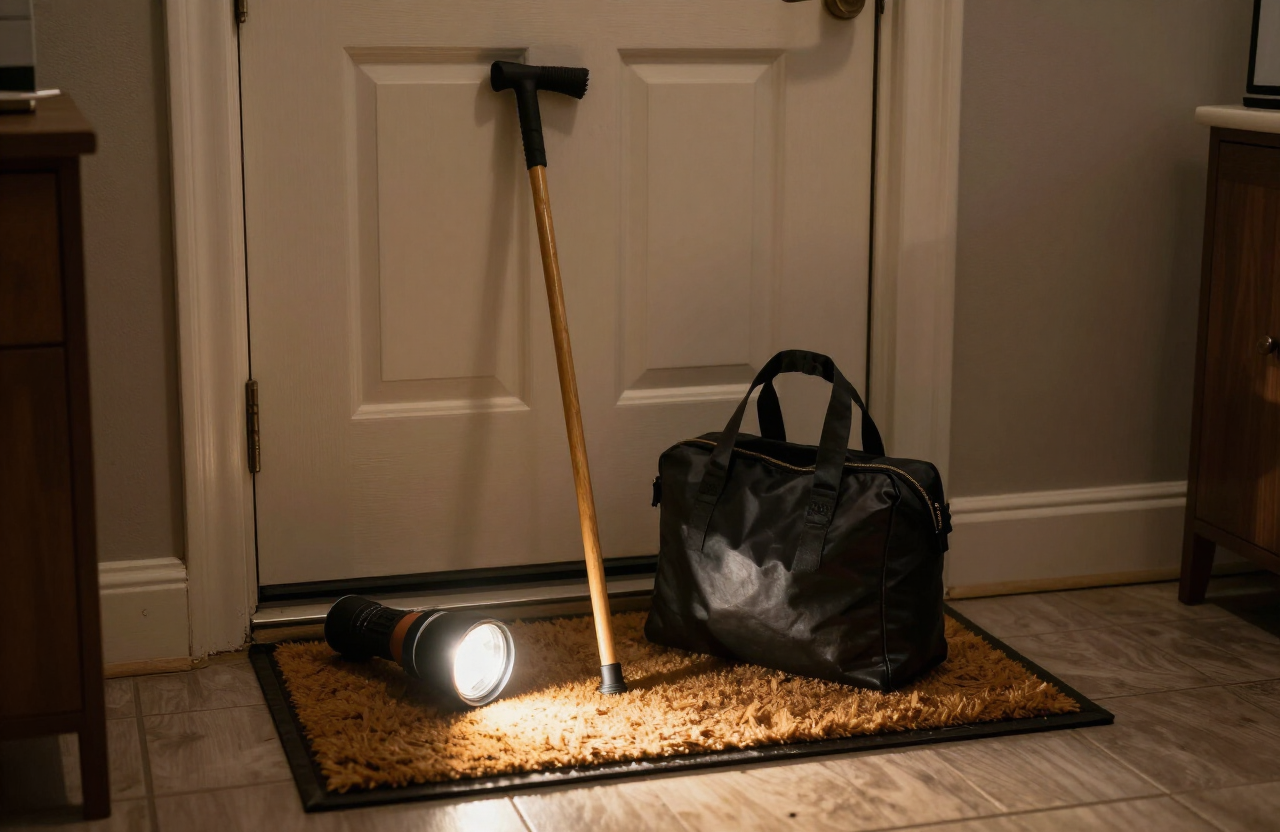
- A flashlight and a loud whistle within easy reach of your bed
- Water, no-cook food, and a manual can opener on low shelves
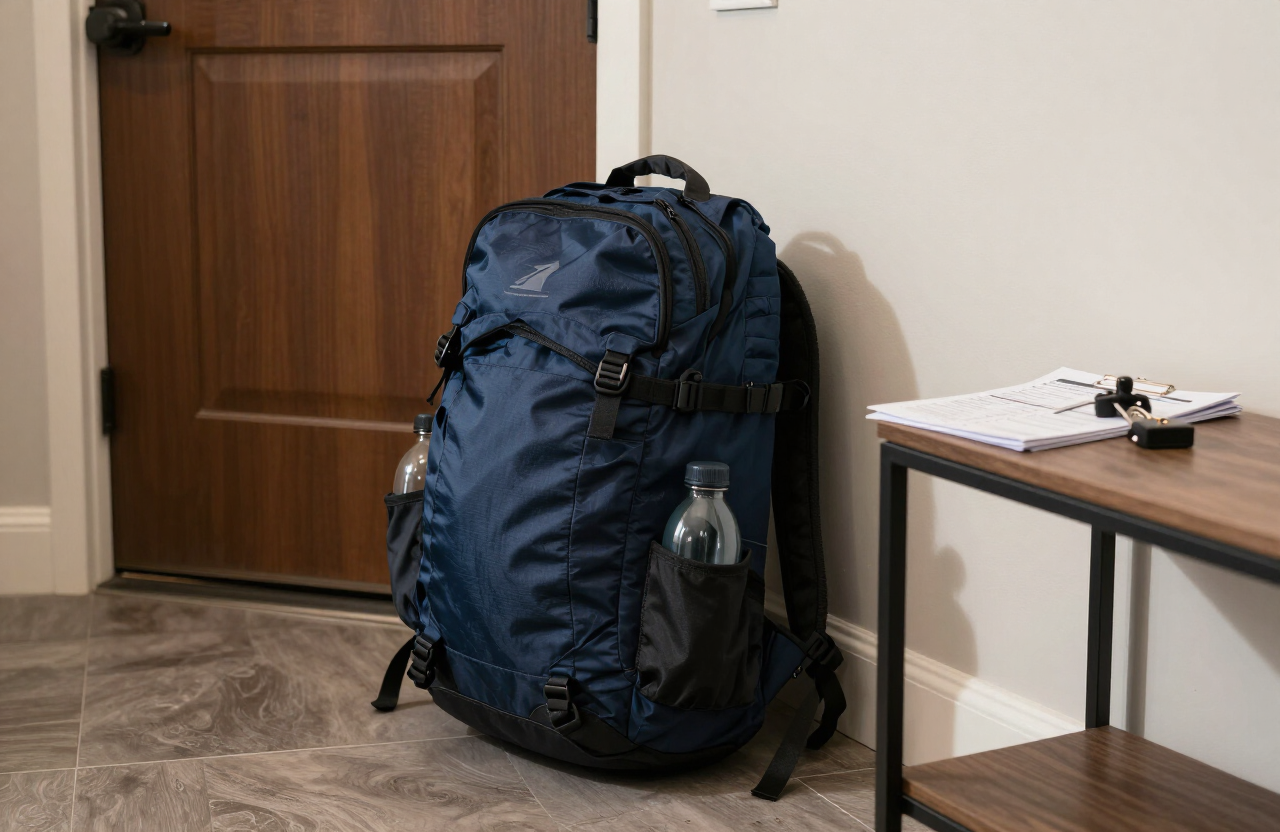
- A small grab bag you can lift or attach to a mobility aid
Set up warnings you can perceive
A warning you cannot hear or see does not help. Layer your alerts so at least one reaches you no matter what.
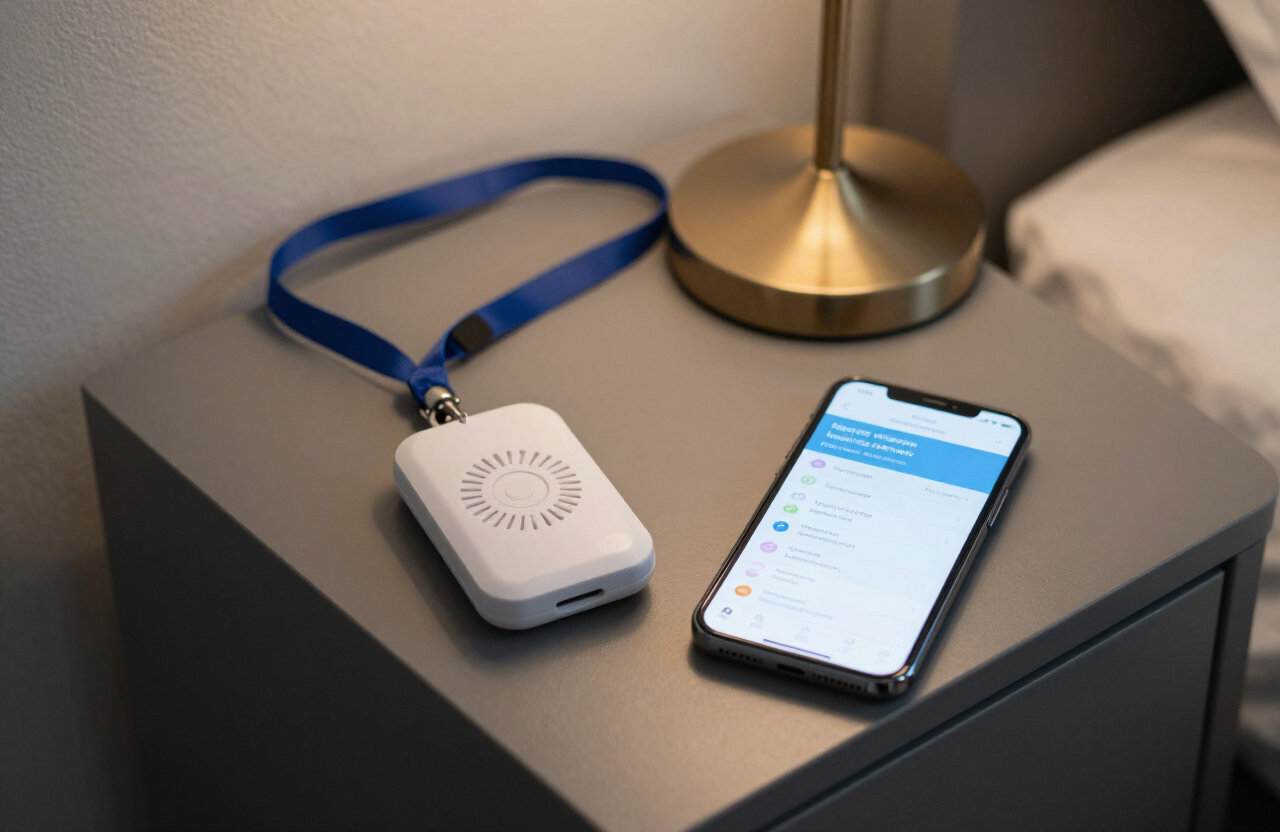
- Enable wireless emergency alerts on your phone, with vibration and sound
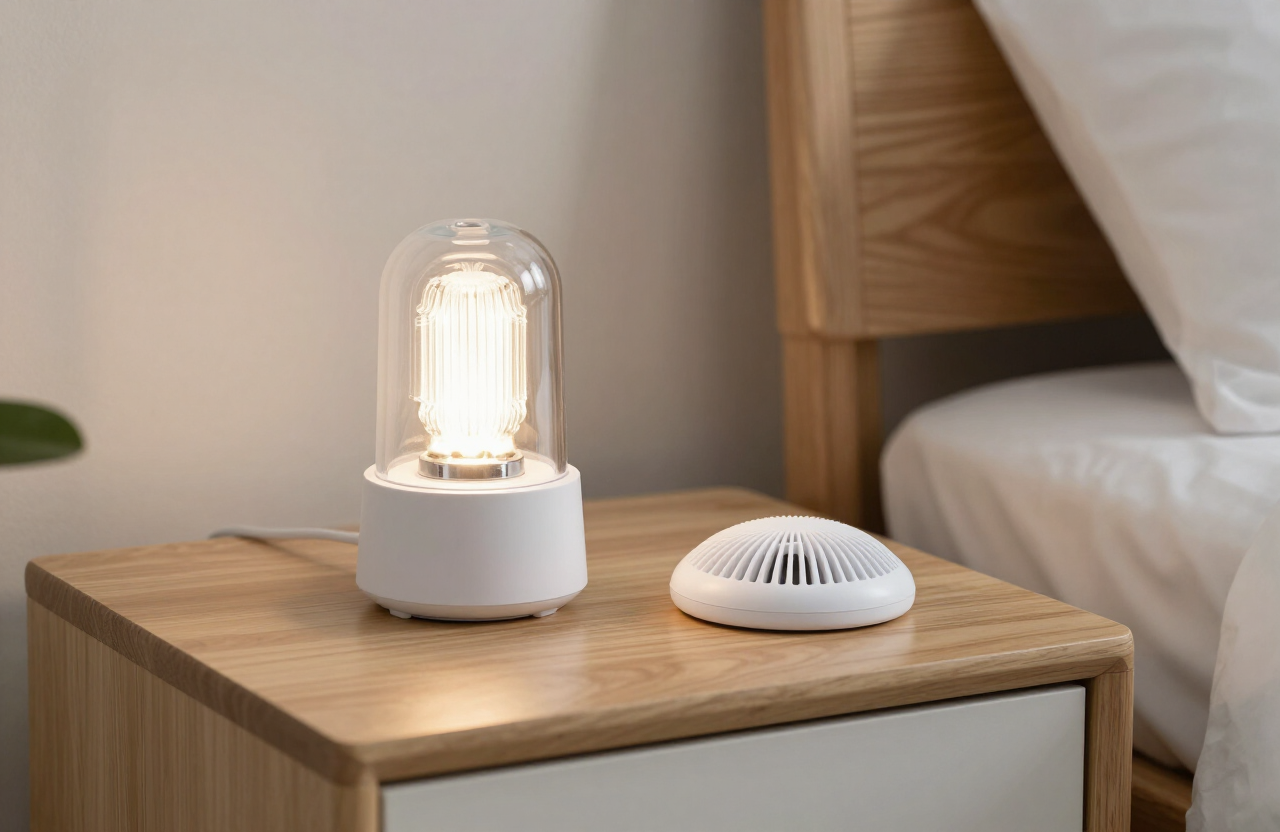
- For hearing: a strobe visual alert light and a vibrating bed shaker
- For vision: audible alerts and a talking weather radio
- Sign up for local text and email alerts from your city or county
- Ask a neighbor or caregiver to check on you when a warning is issued
Build a small support network
No plan should depend on you alone. A few trusted people who know your needs make every step safer, especially in an evacuation.
- Identify at least two neighbors who will check on you during an emergency
- Share your plan and medical needs with a caregiver or family member
- Give a trusted contact a spare key or building access plan
- Register with your local emergency management office if it keeps a needs registry
A personalized evacuation plan
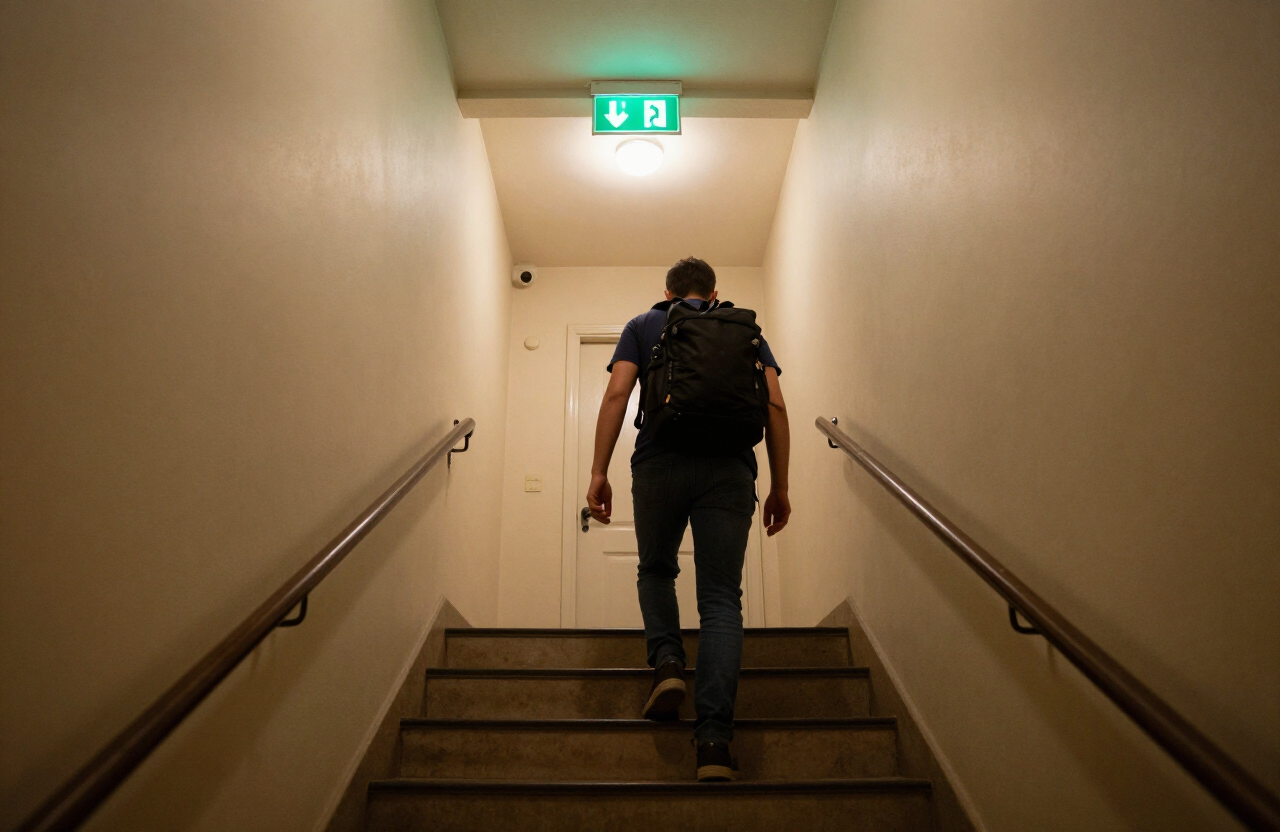
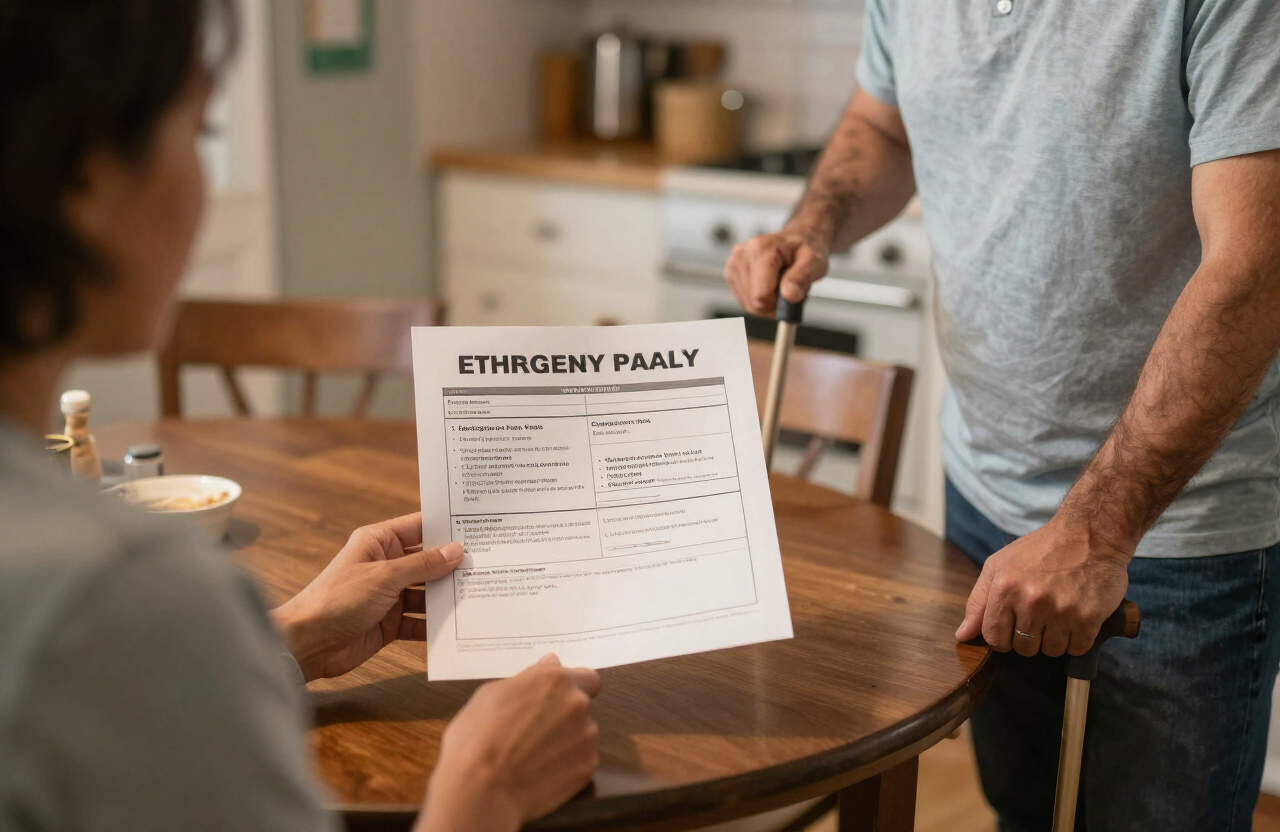
Your exit route has to work for your mobility and your equipment. Walk it now, with the aid or help you would actually use, and write down each step.
- 1Identify the safest, most accessible exit, including a ramp or elevator if allowed for your situation
- 2Plan how you will carry your grab bag, or attach it to a mobility aid
- 3Arrange in advance who will help you leave if you need assistance
- 4Pick a meeting point and an out-of-area contact, and write them on paper
Keep the plan alive
A plan you wrote once and forgot is not a plan. Check it on a schedule so it matches your life as it changes.
| Task | How often |
|---|---|
| Rotate medications and check expiry dates | Every 1 to 3 months |
| Test alerts, radios, and batteries | Twice a year |
| Walk your evacuation route | Once a year |
| Update your medical info card and contacts | Whenever something changes |

Build the household plan around it with our studio apartment emergency plan guide.
Frequently asked questions
Editorial note: this guide provides general preparedness information, not emergency, medical, legal, or engineering advice. Recommendations are cross-checked against public emergency-management guidance and adapted for small-space living. During an active emergency, follow your local authorities and emergency services. See our editorial standards and affiliate disclosure.