How to Make an Emergency Plan for a Studio Apartment
A studio apartment is one room, which sounds simple until you realize everything has to share that space: your bed, your kitchen, your storage, and your emergency plan. The good news is that a studio is also the easiest home to plan for, because you can see all of it at once.
Why a studio needs its own plan
House-based plans assume you can shelter in a basement and store gear in a garage. A studio has neither. Your shelter spot, your supplies, and your exit all live in the same room, so the plan has to be deliberate about where each one goes.
The goal is not a long document. It is a one-page plan that any roommate or guest could follow in the dark.
Step 1: Map your exits and your shelter spot
Walk your studio and identify two ways out. The front door is the first. The second is usually a window, a fire escape, or a shared hallway through a back door. Note which one is realistic for you and anyone who stays with you.
- Front door: keep it clear, with no shoes or boxes blocking the path
- Window: know if it opens fully and where it lands
- Fire escape: check that it is reachable and not blocked
- Shared stairwell: note the nearest one and an alternate
Then pick your shelter spot for events when you stay put: an interior corner away from windows, or a bathroom if your studio has one. That is where you go during high winds or when told to shelter in place.
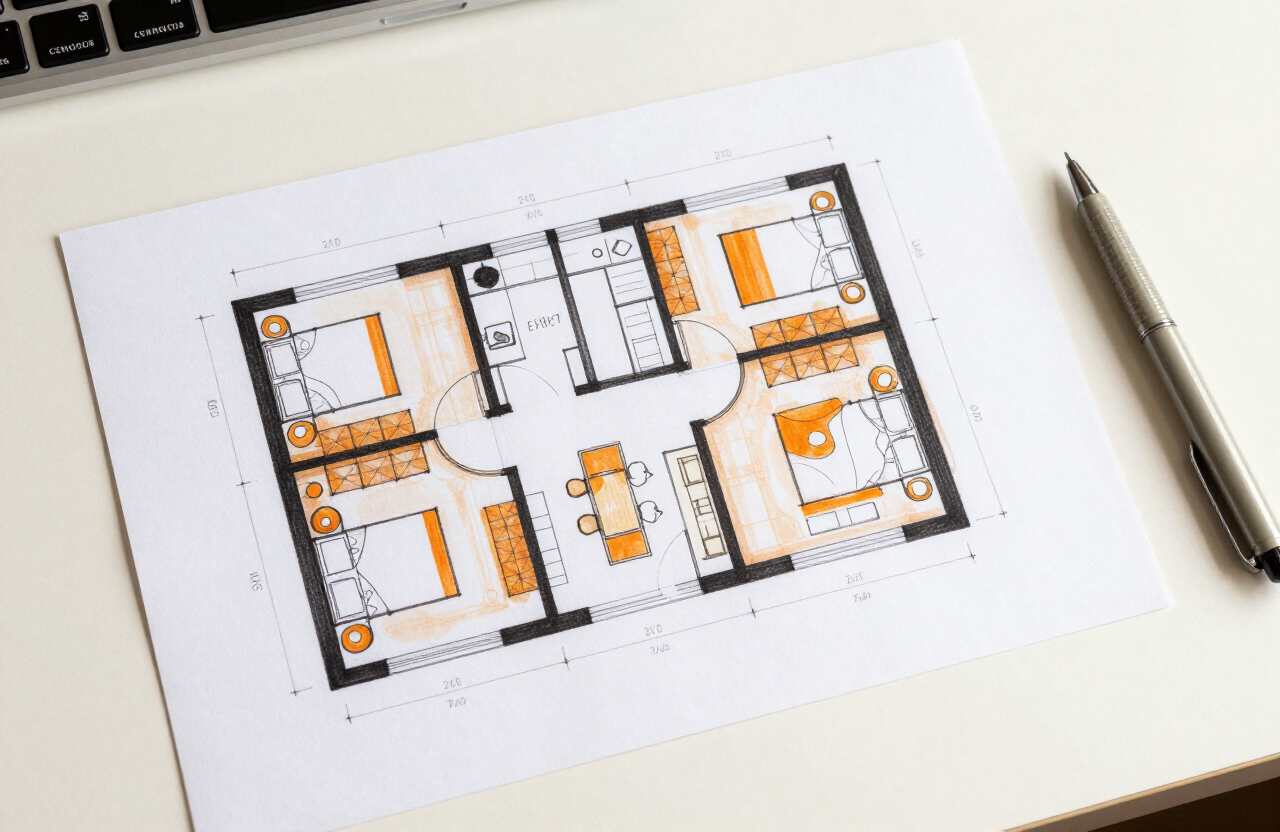
Shelter spots matter most in storms; see our renter storm-prep guide.
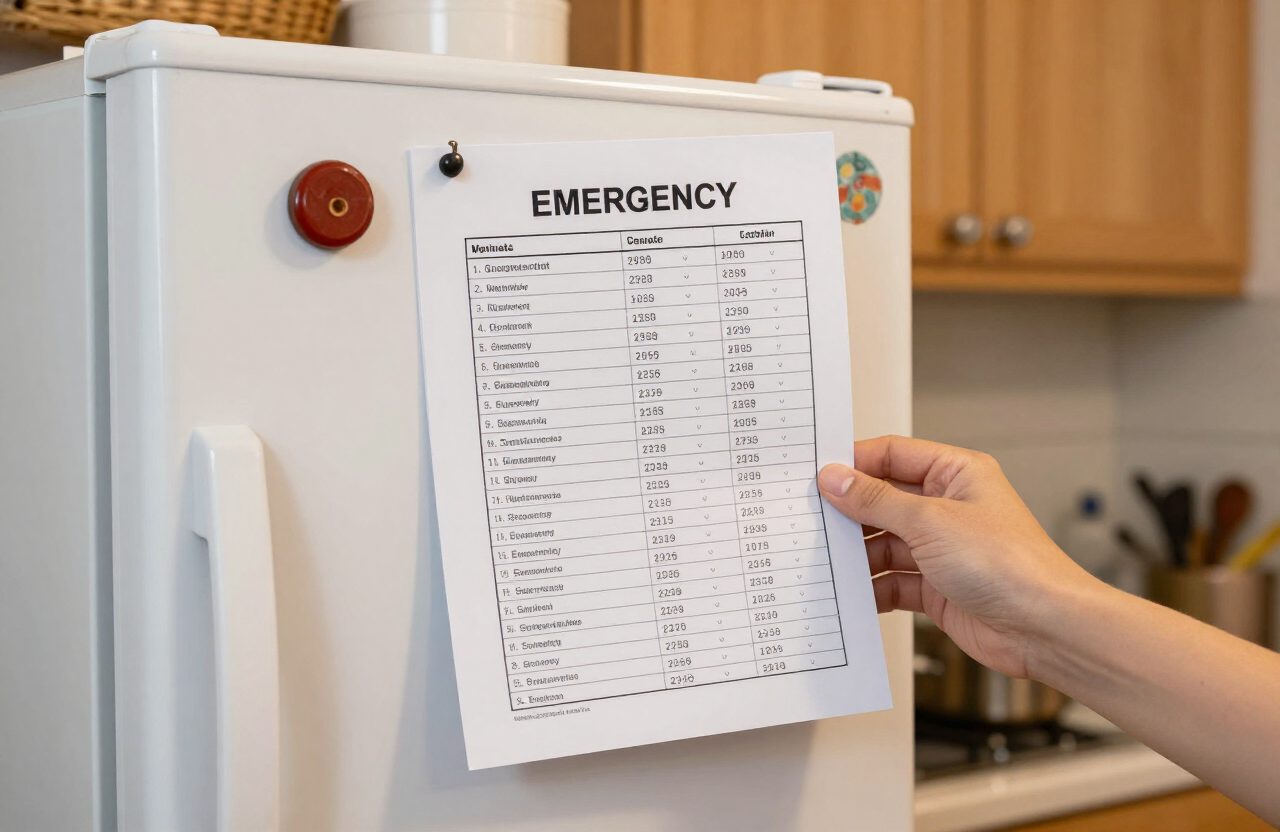
Step 2: Write a one-page contact sheet
Phones die and get forgotten. A paper contact sheet on the fridge or inside a cabinet door is the backup that always works.
- Your name and address
- One out-of-area contact everyone checks in with
- Your landlord and building manager numbers
- Your utility outage-reporting number
- Local non-emergency police and fire numbers
- Any medical contacts and a medication list
Step 3: Put your supplies in one corner
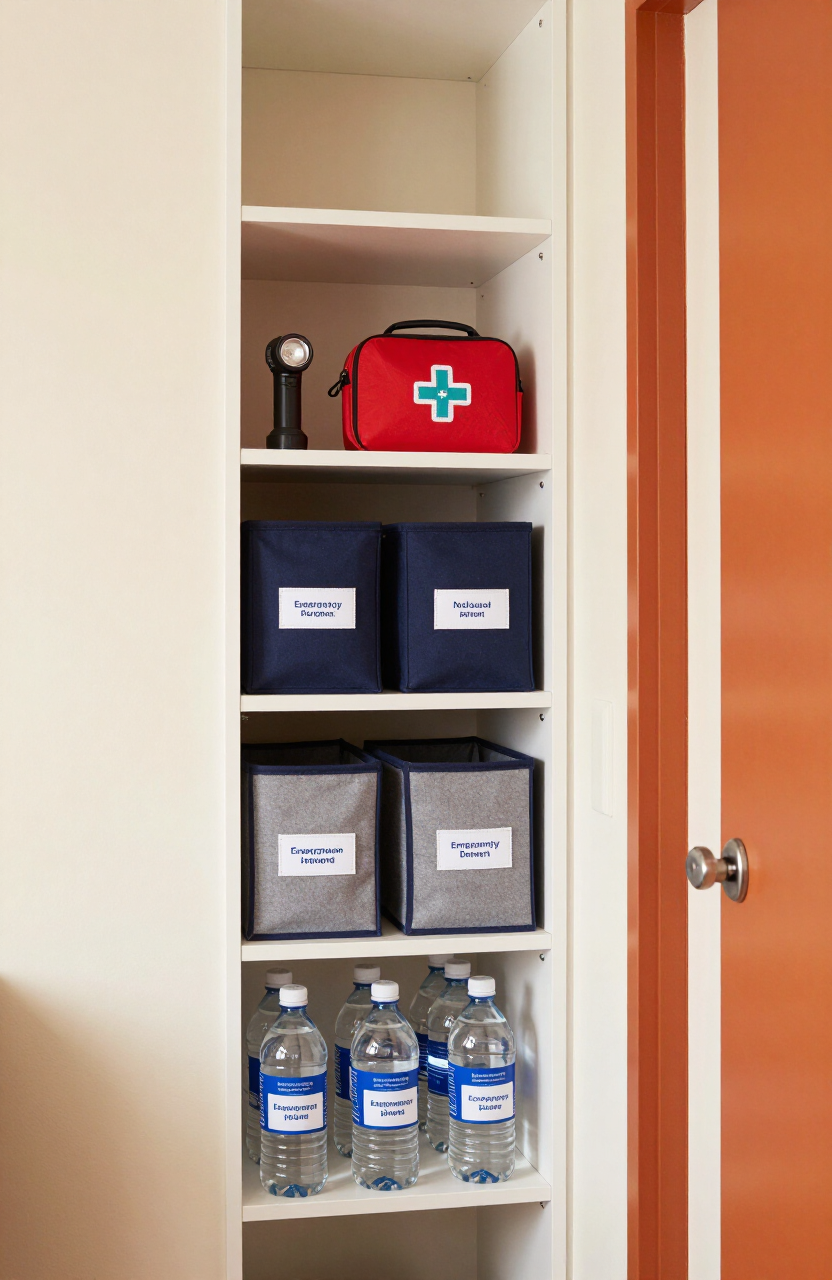
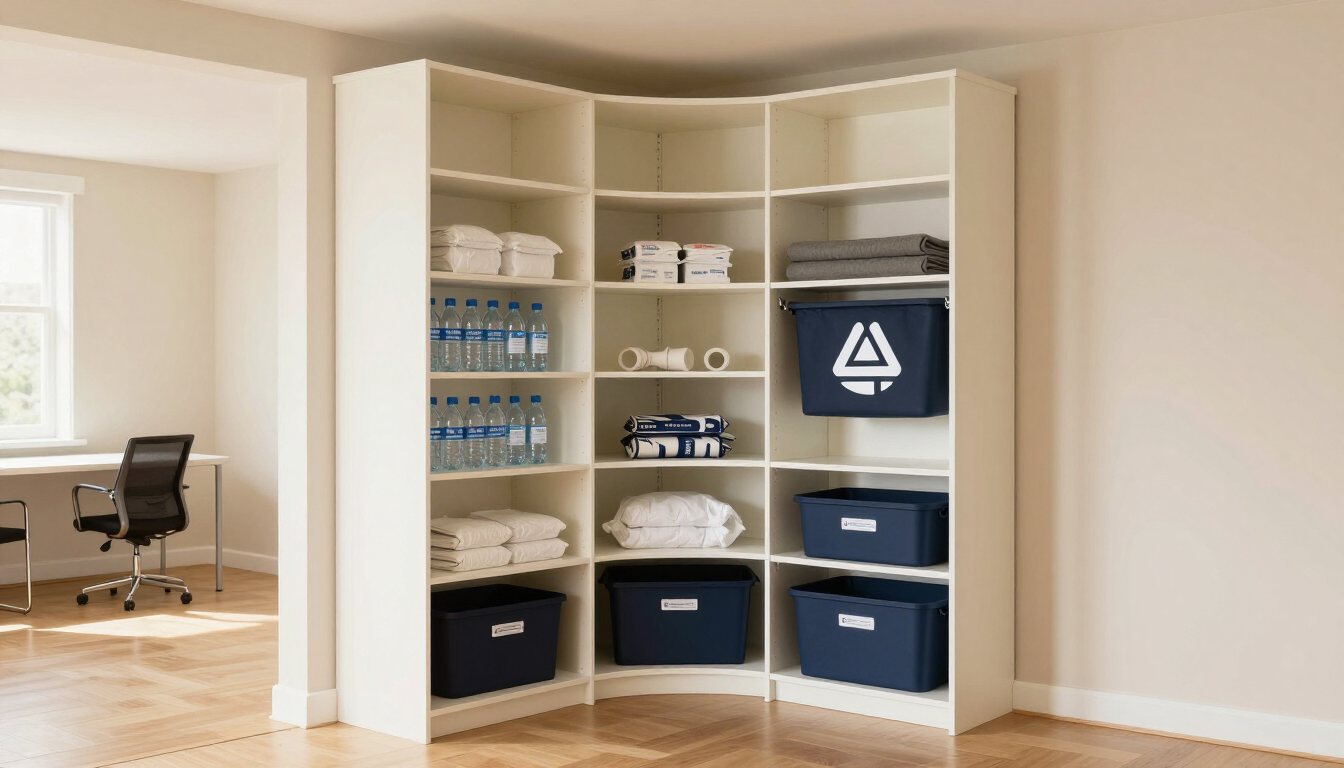
In a studio, sprawl is the enemy. Pick one corner or one closet and give it the whole job: water, food, light, first aid, and documents in labeled bins.
- Floor: water in a low bin or tray
- Low shelf: no-cook food and the manual can opener
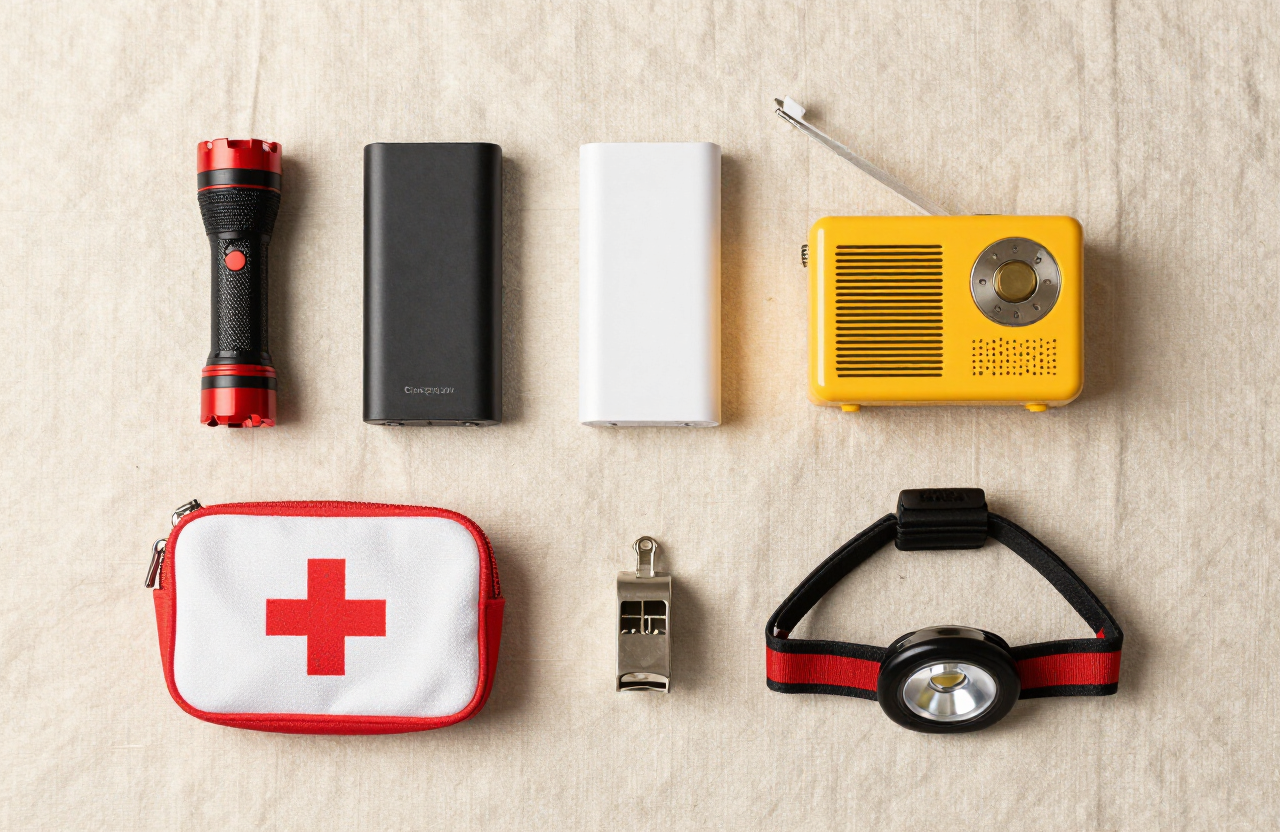
- Eye level: the dark kit, lantern, flashlights, batteries, power bank
- Top: light backup items, space blankets, extra trash bags
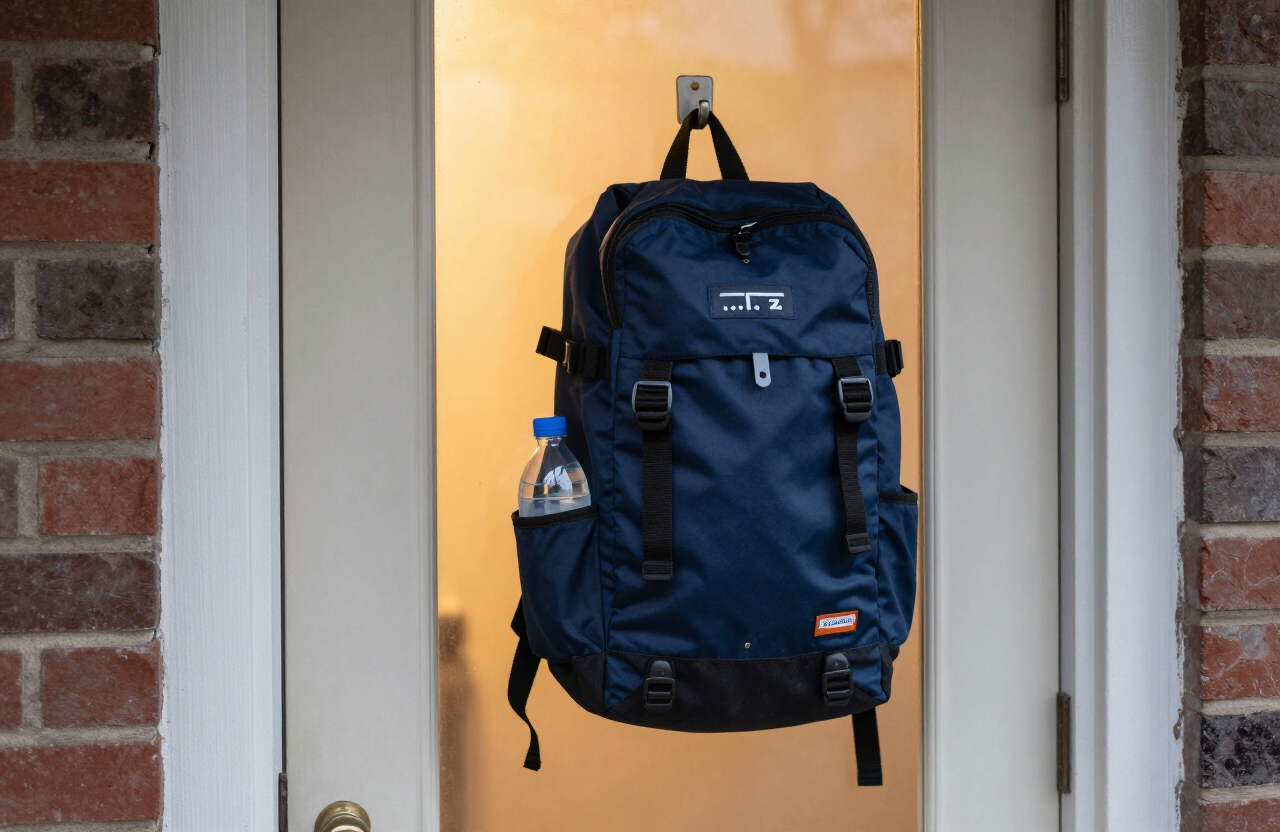
- Door hook: the go-bag, never buried
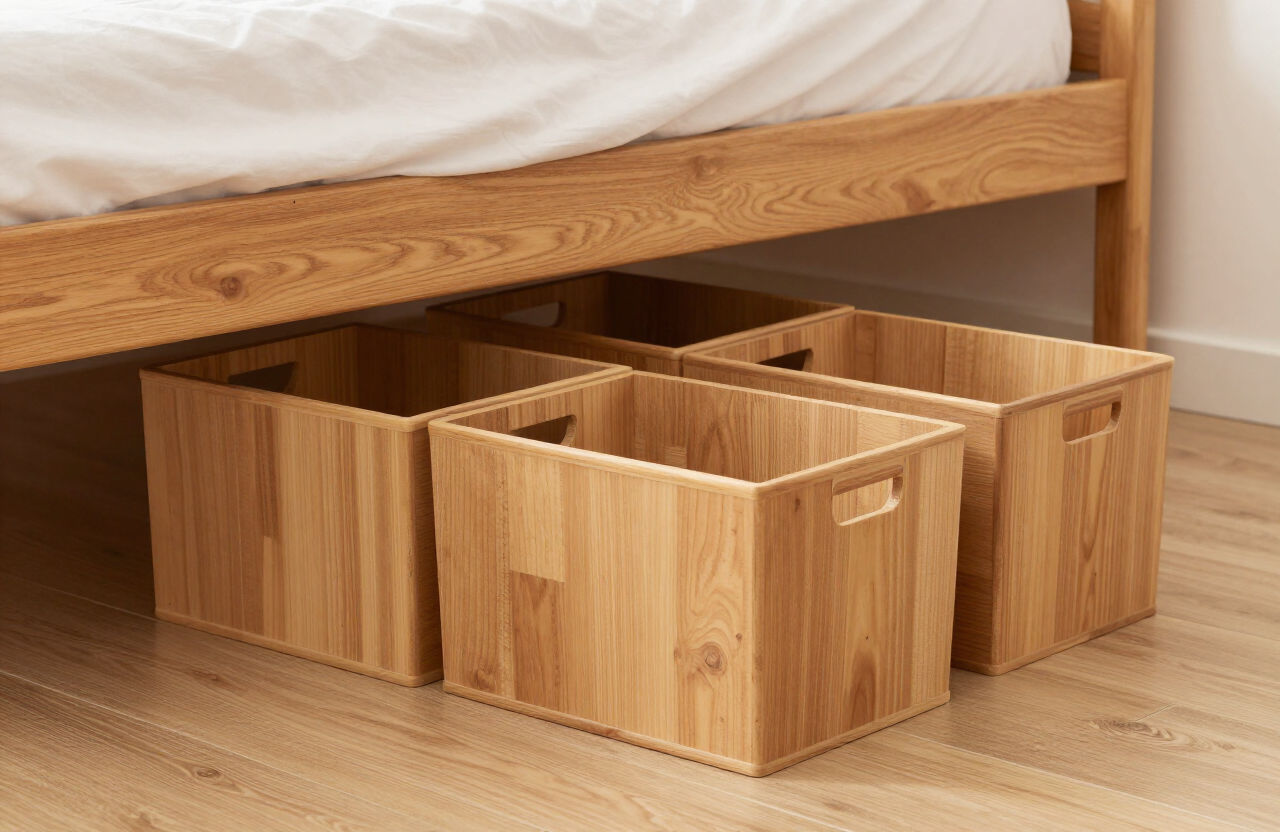
See the full layout in our one-closet storage system.
Step 4: Decide who does what
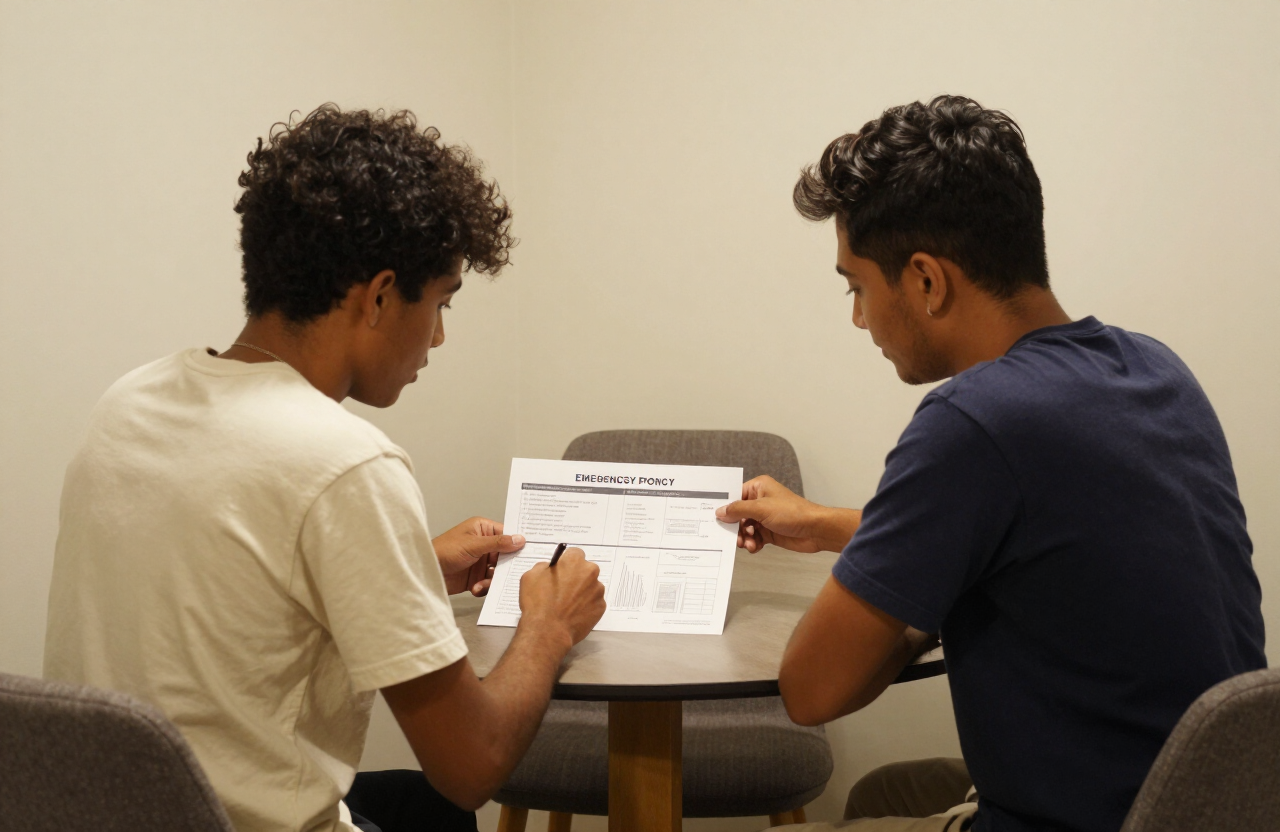
If you live alone, this is short: you do everything. If you have a roommate or a partner, split the roles so no one freezes up.
- One person grabs the go-bag and documents
- One person accounts for pets and phones the contact
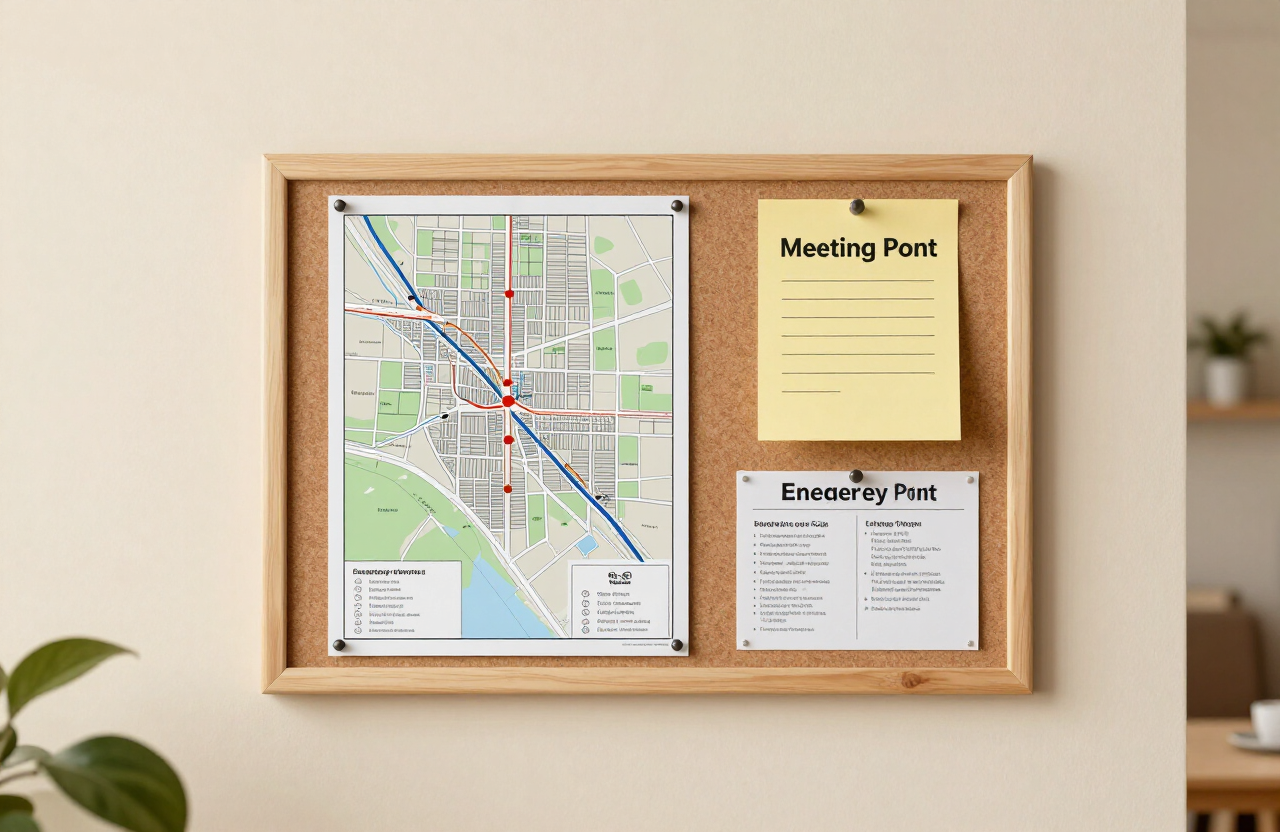
- Agree on a meeting point right outside the building
- Agree on a backup meeting point a block or two away
Step 5: Run a 60-second drill twice a year
A plan you have never practiced is a wish. Twice a year, time yourself: shoes on, go-bag in hand, documents pocket checked, out the door. Sixty seconds is the goal.
The drill exposes the missing cable, the expired snack, and the blocked exit while it is still free to fix. Tie it to daylight-saving weekends so you remember.
A studio plan fits on one page because a studio fits in one room. The hard part is not writing it. It is practicing it.
Small Space Emergency editorial team
Step 6: Keep a copy outside the studio
Take a photo of your contact sheet and your supply inventory, and store them in cloud storage or send them to your out-of-area contact. If you cannot get back into your studio, you still have the numbers and the list.
Build the supplies behind the plan with our small-apartment kit guide.
Frequently asked questions
Editorial note: this guide provides general preparedness information, not emergency, medical, legal, or engineering advice. Recommendations are cross-checked against public emergency-management guidance and adapted for small-space living. During an active emergency, follow your local authorities and emergency services. See our editorial standards and affiliate disclosure.